There are several different ways to transfer an embroidery pattern to your fabric. If you're interested in embroidery, think about experimenting with these to see which one is the most convenient for you.
First thing is first, find a pattern you enjoy, and if it is online, print it!
Light
Place the pattern underneath your
chosen fabric, and on top of a light box. Trace the pattern
directly onto the fabric with a water soluble fabric marker.
If you do not have access to a
light box, tape the pattern, with your fabric on top, onto a window
with good light.
I personally don't own a light box, though you can find them at most craft stores for relatively cheap. I have these big sliding doors to my little apartment balcony that have come in handy.
-
Trace the pattern from the
pattern sheet to a sheet of parchment paper, using any writing
utensil. Pin the parchment paper, which now contains the pattern,
directly onto your fabric.
Stitch through fabric and
parchment paper along pattern lines. When the embroidery is
finished, removed parchment paper carefully.
You may have to use your
embroidery needle to grab little bits of paper from underneath
stitches.
The in-between option for "paper" and "heat" is, of course, wax paper. I have ironed wax paper onto fabric before that contains my traced pattern, and stitched through. The heat will help the wax paper stick onto the fabric temporarily, but will not be a lasting solution. It will be good for a project that can be completed in just a few hours, but not for something you will need to put down and come back to.
Heat
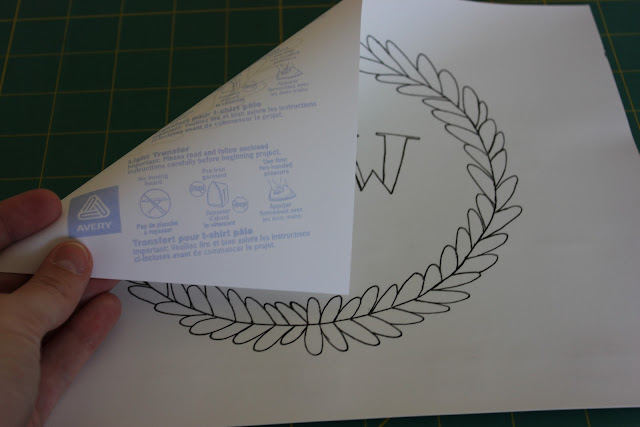
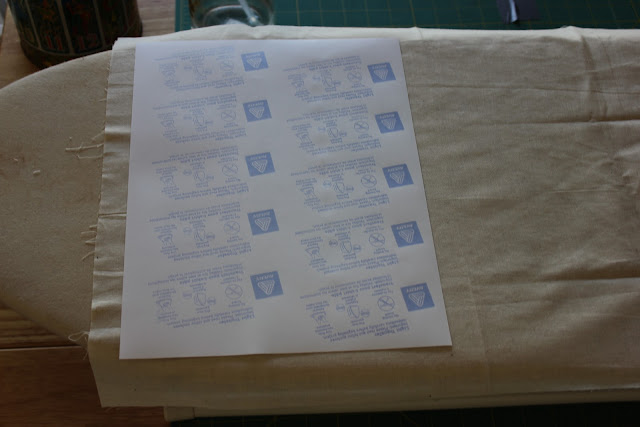
Print the pattern onto a sheet of heat transfer paper. This can be
purchased online or at any craft store in your area (also:
Walmart.) Heat transfer paper will usually be found in aisles
containing t-shirt crafts. My packet of 6 sheets cost around 8 dollars.
Be sure to follow the
instructions that come with the heat transfer paper. You will have
to mirror the image in adobe before you print, so that it will appear backwards to you.
Iron the pattern onto your fabric. Remove the paper and get stitching!
Don't know how to mirror images in adobe? Here's a quick run through:
 |
| Open your pattern in Adobe |
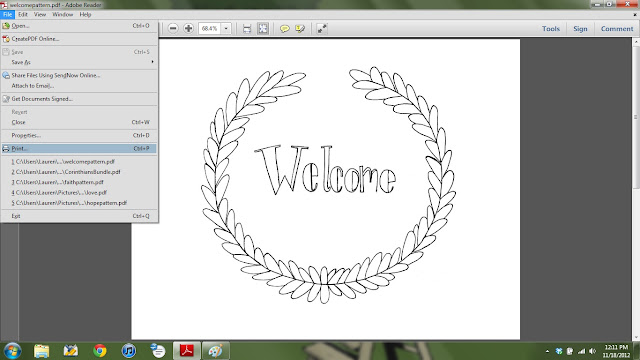 |
| Head up to "File" and select "Print" |
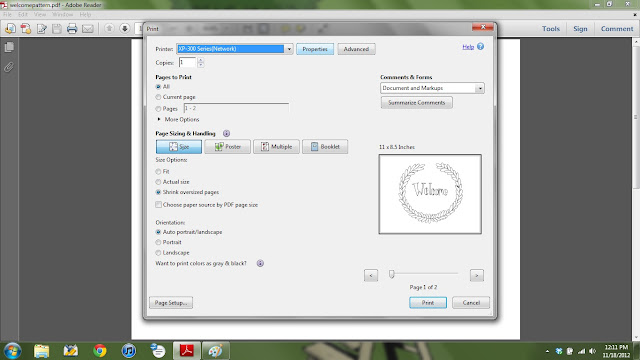 |
| In the print setup, select "Properties" |
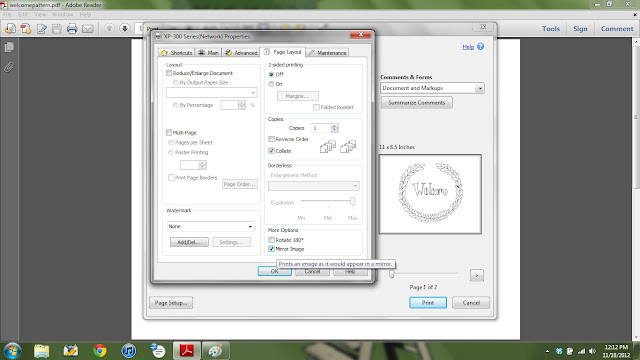 |
| In "Properties" select "Mirror Image" from "More Options" |
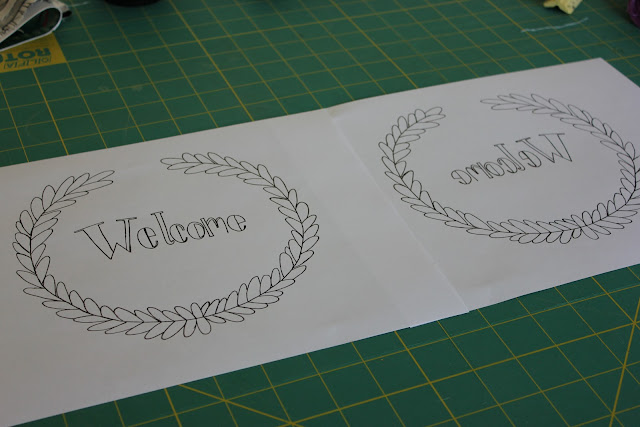 |
| And here's the difference! On the left is your original image; on the right is your new mirrored pattern! |
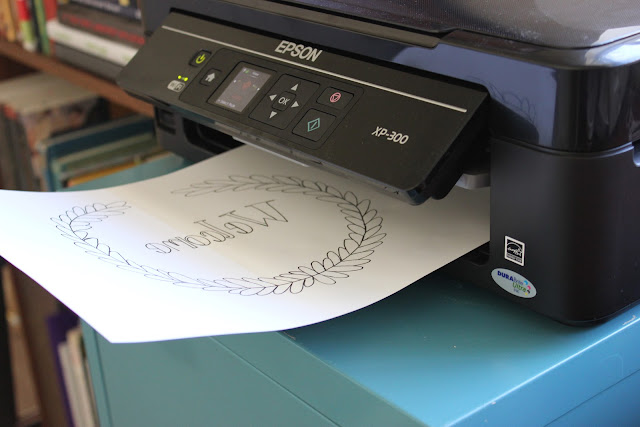 |
| Once you figure out how everything works you can print your new backwards pattern onto the heat transfer paper. |
 |
| Make sure you print on the right side and follow the instructions on the paper. |
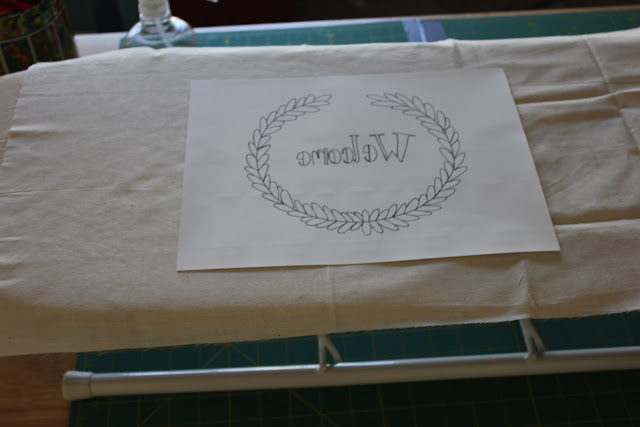 |
| Prepare your fabric and get your iron warmed up! |
 |
| Flip it over and get ironing. Once it's sufficiently ironed (per your heat transfer instructions) you will need to give it some cool off time before you peel the paper off. |
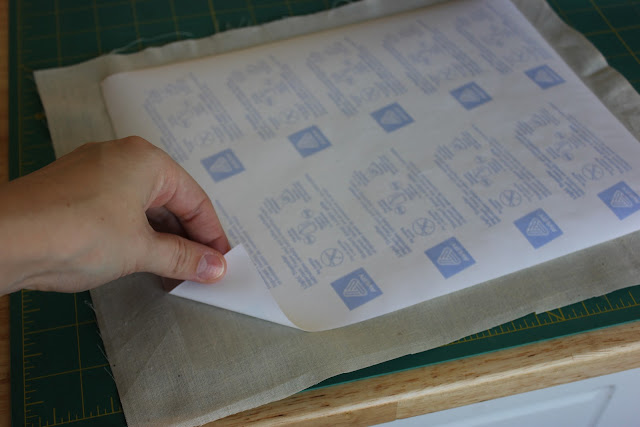 |
| Peel slowly, but with purpose. |
 |
| Congratulations! Your pattern has been successfully transferred. You're ready to start stitching! |
For the fastest and most convenient method, I would go with the heat transfer paper. For the cheapest, I'd stick with my little window. The paper method (with parchment paper) can get a little tricky with longer projects, and I usually have to put my embroidery down before I'm finished, so I hardly ever use this method.
I hope this gets you going on your embroidery adventures! "But Mrs. Kopf," you say, "I don't know how to do any of those fancy stitches..." "Check back here tomorrow," I say to you. "I've got you covered."
If you have any additional questions, you can email me at kopfdropcrafts (at) gmail.com.


No comments:
Post a Comment