I had never been to a furniture auction before, and was quickly advised by my mom that it is actually a gruelling exercise in controlling your emotions. As much as I wanted to point at this kitchen hutch and say "ooooooooo!!!" I held it in and put on my best poker face so that while we were bidding against about five other people they wouldn't run up the price because for all they knew--I could care less. We ended up with this great kitchen hutch, and a cabinet that matches it (which is my quilting cabinet in the craft room), a dresser, and a gigantic mirror. My sister ended up with two matching end tables that had never even been taken out of the box and assembled. In short, we all scored.
The back has some weird stains that, when we were first married, I covered with a brown poster board for a quick solution. We recently pulled it out of storage and put it in our new kitchen which is big enough to hold it, and I wanted a fancier solution than just a poster board.
That's right, I am upgrading to a foam board! Here's a solution that ended up costing about two bucks. The foam board was almost the perfect size for the cubby I am covering up, but for what I was planning on doing, I needed to cut off just a little bit. My rotary cutter came in handy here.
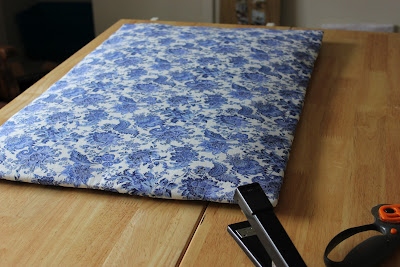
I covered the cut board with some polyfill fluff, then quilt batting, then my fabric of choice. Now to tack it all together.
We're working with foam board here, so I just used a regular stapler.
I also want to be able to use this fabric again if I feel like it, so staples would be easy to take out and wouldn't leave huge holes.
That's why I didn't cut my long sides. Who know when you'll need some fancy porcelain yardage?
All done! I have successfully upholstered a foam board.
Here's the board finished in its little cubby.
And here it is all fixed up!
Since it sits right by the door I set it up to hold our keys. My pins, stuck in two at a time, hold up all our stuff pretty well through the board.
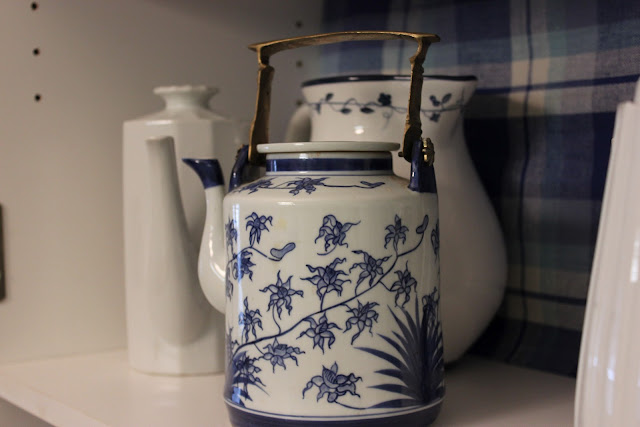
So then I got a little carried away, and decided to set up some fabric on the upper shelf and all my teapots for display.
I hear all the time on HGTV about those designers who create "little moments" in their spaces. Well there we go, my little tea-time moment in my happy little kitchen. We painted that wall and the rest of it a fun seafoam green. Now that I see that painting in a photo, I'm not sure that's where it's going to stay. It does seem pretty teeny.... My little moment may be put together, but the kitchen isn't quite finished!


3 comments:
So proud of you!!! I love it!
I haven't read the other new entries, but if you haven't yet, I'm surprised there's no photo session with your pyrex collection :D
This is too cute! Miss you guys! - Meg & Michael
Post a Comment